
Want to capture stunning, professional-looking portraits without investing in expensive camera equipment? Believe it or not, your smartphone holds the power to create high-quality portrait photography. This comprehensive guide will equip you with the essential techniques and expert tips to elevate your smartphone portrait photography game, enabling you to take professional-looking portraits that rival those captured with dedicated cameras. Whether you’re a seasoned photographer or just starting out, learn how to harness the full potential of your smartphone’s camera and capture breathtaking portraits.
From mastering composition and lighting to exploring advanced smartphone camera settings and editing apps, this article will cover every aspect of taking professional-looking portraits with your smartphone. Discover the secrets to achieving perfect focus, creating compelling backgrounds, and using natural light to its fullest. We’ll also delve into post-processing techniques that will add a final polish to your portraits, turning them into true works of art. Get ready to unlock your smartphone’s hidden potential and capture portraits you’ll be proud to share.
Use Portrait Mode Effectively
Portrait mode, also known as bokeh mode, is a powerful tool for enhancing your smartphone portraits. It simulates the shallow depth of field effect found in professional cameras, blurring the background and drawing attention to your subject.
Understanding its limitations is key to effective use. While generally improving portraits, portrait mode can sometimes struggle with complex edges, like hair or foliage. Be mindful of the distance between your subject and the background. A greater distance usually results in a more pronounced blur.
Experiment with lighting. Good lighting is crucial for any photograph, and portrait mode is no exception. Natural, diffused lighting often produces the most pleasing results.
Lighting Is Everything
Light is the most crucial element in portrait photography. It shapes the subject, creates mood, and dictates the overall quality of the image. Understanding how to use light effectively is key to capturing professional-looking portraits.
Natural light is generally preferred. Look for soft, diffused light, such as on a cloudy day or in open shade. Avoid harsh midday sun, which can cause unflattering shadows.
If shooting indoors, position your subject near a window for soft, directional light. You can use a reflector to bounce light back onto the subject’s face and fill in shadows.
Avoid Zoom, Move Closer Instead
Digital zoom on smartphones often degrades image quality, resulting in pixelated and unprofessional-looking portraits. Instead of relying on zoom, physically move closer to your subject. This preserves detail and allows for a more flattering perspective.
By reducing the distance, you can effectively fill the frame with your subject, creating a more impactful composition. This also allows for better control over background elements and helps achieve a shallower depth of field, further emphasizing your subject.
Focus on Eyes and Background Blur
In portrait photography, the eyes are the window to the soul. Ensure your subject’s eyes are in sharp focus. Most smartphone cameras allow you to tap the screen to select the focal point. Tap directly on the eye closest to the camera to prioritize its clarity.
A blurred background, also known as bokeh, helps isolate your subject and create a professional look. Achieving this with a smartphone involves using portrait mode if available. This feature uses software to simulate a shallow depth of field, blurring the background while keeping the subject in focus.
If your phone lacks portrait mode, you can still create background blur by getting closer to your subject and increasing the distance between the subject and the background. The greater the distance between your subject and the background, the more pronounced the blur will be.
Edit with Mobile Photography Apps
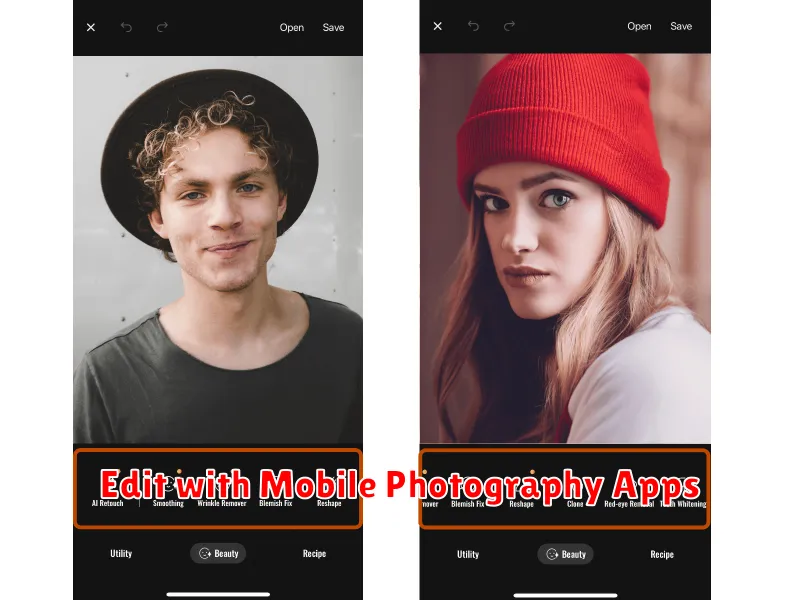
Post-processing is a crucial step in achieving professional-looking portraits. Numerous mobile editing apps offer powerful tools previously only available on desktop software.
Consider apps like Adobe Lightroom Mobile, Snapseed, or VSCO. These offer fine-grained control over exposure, contrast, highlights, shadows, white balance, and sharpness. You can also make targeted adjustments to specific areas of your image.
Selective editing allows you to enhance the subject’s features or correct distracting elements in the background. Many apps also offer preset filters as a starting point, allowing for quick and easy edits.
Explore different apps to find the one that best suits your editing style and needs. Remember, the goal is to enhance, not over-edit, your portraits.
Tips for Daylight and Night Portraits
Daylight portraits thrive in soft, diffused light. Overcast days are ideal, or shoot in open shade to avoid harsh shadows. Position your subject facing the light source for even illumination.
For night portraits, utilize available light sources like streetlights or shop windows. A stable surface or tripod is crucial for sharp images in low light. Experiment with your smartphone’s night mode for optimal results. Consider using a small external light source to fill in shadows and add a catchlight to the eyes.